Simple Fudgy Brownie Recipe: Gooey and Rich
- Time:10 minutes active + 25 minutes cooking + 1 hour cooling = 95 minutes total
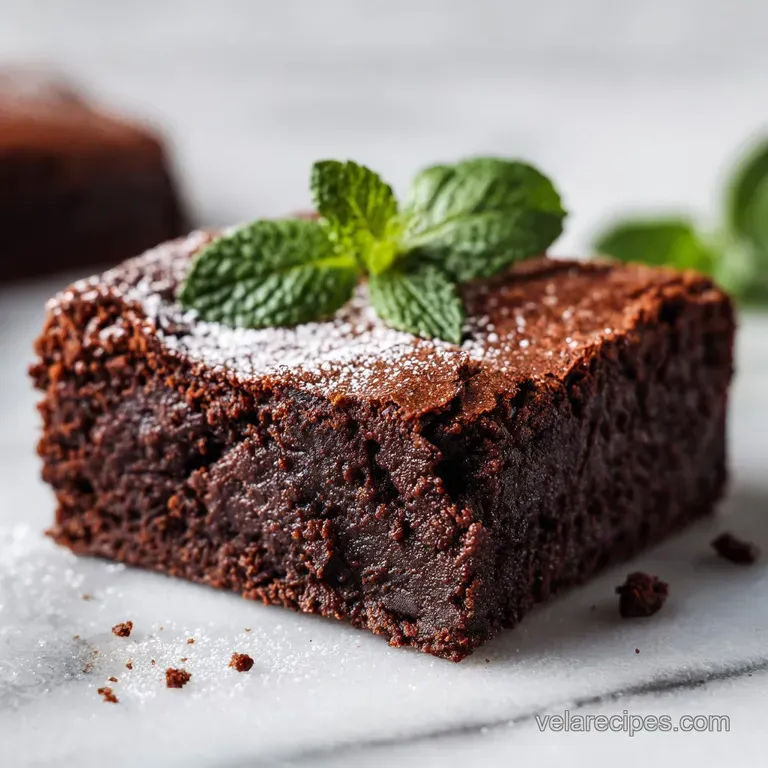
- Flavor/Texture Hook: Intensely dark, velvety center with a shatter crisp top crust
- Perfect for: Last minute cravings, bake sales, or beginner bakers looking for a win
- Why This Texture Stays Dense
- Component Analysis
- Selecting Your Fudgy Ingredients
- Tools for a Perfect Bake
- Detailed Steps for Fudgy Brownies
- Fixing Common Brownie Mistakes
- Adjusting for More Servings
- Debunking Typical Brownie Myths
- Storage and Zero Waste Tips
- Serving Ideas for Your Dessert
- Recipe FAQs
- 📝 Recipe Card
The kitchen fills with that heavy, intoxicating aroma of melting butter and sifted cocoa, a smell that hits you right in the chest before you even take a bite. I remember the first time I tried making brownies without a box.
I was in a tiny apartment with a temperamental oven, and my first three attempts were either dry bricks or literal chocolate soup. I thought I needed fancy bars of expensive chocolate, but it turns out the magic happens when you treat simple ingredients with a bit of respect.
We've all been there, staring at a recipe that promises "fudge" but delivers "cake." But this is different. When you whisk the sugar and butter until they pale, you're creating a structural bond that results in that gorgeous, shiny crust we all crave.
It is a satisfying, tactile process that feels more like craft than a chore. Right then, let's get into why this works so you can get these into your oven as fast as possible.
You'll notice the batter is thick, almost like ganache, and that is exactly what we want. There is no baking powder here, and that is intentional. We aren't looking for a lift; we are looking for a dense, rich melt in-your mouth experience that makes people ask if you bought them from a professional bakery.
Trust me on this, once you see that first slice come out of the pan, you'll never look at a box mix the same way again.
Why This Texture Stays Dense
- Fat to Flour Ratio: Keeping the all purpose flour at just 1/2 cup ensures the structure remains dense and fudgy rather than light and airy.
- Acidity and Moisture: The 2 tablespoons of plain Greek yogurt provide enough acidity to tenderize the gluten while adding moisture that doesn't evaporate like water.
- Sugar Suspension: Whisking the granulated sugar into the melted butter for a full 2 minutes helps dissolve the crystals, which is the "pro secret" for the crackle top.
- Sugar Egg Emulsion: Beating the eggs until they are frothy creates a micro foam that sets into a delicate crust while the center stays gooey.
| Premium Option | Budget Alternative | Flavor Impact | Savings |
|---|---|---|---|
| Dutch processed cocoa | Standard unsweetened cocoa | Slightly less dark color | Save $3-5 |
| Grass fed butter | Store brand unsalted butter | Minor loss in richness | Save $2-3 |
| Valrhona chocolate chips | Semi sweet baking chips | Less complex sweetness | Save $4-6 |
It's all about choosing where to spend your money. If you have the budget, high-quality cocoa powder makes a huge difference in the "depth" of the chocolate flavor. However, if you're just looking for a quick weeknight treat, the standard unsweetened cocoa from the baking aisle works perfectly fine.
Just make sure you sift it to avoid those pesky bitter lumps!
Component Analysis
| Ingredient | Science Role | Pro Secret |
|---|---|---|
| Granulated Sugar | Moisture retention | Whisk until the mix pales for the best crust. |
| Plain Greek Yogurt | Protein and Acid | Use full fat yogurt to keep the crumb velvety and moist. |
| Unsweetened Cocoa | Structural Base | Sift directly into the bowl to ensure a smooth batter. |
| Large Eggs | Emulsifier | Room temperature eggs incorporate better than cold ones. |
The Greek yogurt is my favorite trick for a simple fudgy brownie recipe because it adds a subtle tang that balances the sugar. If you find yourself wanting more variety in your morning routine, these brownies are almost as easy as some of my favorite quick breakfast recipes. But for now, let's focus on the chocolate.
Selecting Your Fudgy Ingredients
- 1/2 cup unsalted butter, melted: Why this? Provides the rich fat base necessary for a tender, melt in-the mouth texture.
- 3/4 cup granulated sugar: Why this? Sweetens and creates the structural "glue" for the fudgy center.
- 2 large eggs, room temperature: Why this? They provide structure and the frothy air needed for the top crust.
- 1 tablespoon vanilla extract: Why this? Enhances the chocolate notes; don't skip this, it's essential for depth.
- 2 tablespoons plain Greek yogurt: Why this? Adds moisture and a slight tang that prevents the brownies from being cloying.
- 2/3 cup unsweetened cocoa powder, sifted: Why this? The primary flavor driver; sifting prevents dry, bitter pockets of powder.
- 1/2 cup all purpose flour: Why this? Just enough to hold the brownies together without making them cake like.
- 1/2 teaspoon fine sea salt: Why this? Sharpens the chocolate flavor and balances the sweetness perfectly.
- 1/4 cup dark chocolate chips (70% cacao): Why this? Adds pockets of melted chocolate for a multi textured experience.
Tools for a Perfect Bake
You don't need a stand mixer for this, which is great news for your cleanup routine. A large, microwave safe mixing bowl is the primary vessel here, allowing you to melt the butter and build the batter all in one place.
Using a sturdy balloon whisk is non negotiable for those first few steps because you need to physically beat air into the eggs and sugar.
Once the dry ingredients go in, switch to a silicone spatula. You want to be gentle at this stage to avoid over developing the gluten, which would make the brownies tough. For the pan, an 8x8 inch square baking pan is the standard. I highly recommend lining it with parchment paper, leaving an overhang on two sides.
This "sling" method lets you lift the entire block of brownies out once they're cool, which means cleaner cuts and no scratching your pan with a knife.
Detailed Steps for Fudgy Brownies

- Preheat your oven to 350°F (175°C). Line an 8x8 inch square baking pan with parchment paper, leaving an overhang on two sides for easy removal. Note: This ensures the brownies don't stick and are easy to lift out later.
- In a large microwave safe mixing bowl, combine the 1/2 cup melted butter and 3/4 cup granulated sugar. Whisk vigorously for 1-2 minutes until well combined and the mixture looks slightly gritty but unified.
- Add the 2 room temperature eggs, 1 tablespoon vanilla extract, and 2 tablespoons Greek yogurt to the butter mixture. Continue to whisk until the batter is pale and slightly frothy. Note: This aeration is what creates the crackle top.
- Sift the 2/3 cup cocoa powder, 1/2 cup all purpose flour, and 1/2 teaspoon fine sea salt directly into the bowl with the wet ingredients.
- Using a silicone spatula, gently fold the dry ingredients into the wet mixture. Stop as soon as no white streaks of flour remain. Note: Over mixing at this stage will make the brownies cakey.
- Gently fold in the 1/4 cup dark chocolate chips.
- Pour the batter into the prepared pan and smooth the top with your spatula. The batter will be thick and glossy.
- Bake for 25 minutes until a toothpick inserted into the center comes out with a few moist crumbs. Note: If the toothpick is clean, they might be overbaked!
- Remove from the oven and set the pan on a wire rack.
- Allow the brownies to cool completely in the pan for at least 1 hour. The fudge texture needs time to set before you even think about slicing them.
Fixing Common Brownie Mistakes
Why Your Brownies Are Cakey
This is usually caused by two things: too much flour or over beating the eggs once the flour is added. If you measure your flour by scooping the cup directly into the bag, you're likely packing it down and getting way more than the required 1/2 cup.
Always spoon the flour into the measuring cup and level it off with a knife. Also, remember that once the flour hits the wet ingredients, your whisking days are over. Switch to a spatula and fold gently.
Why Your Brownies Are Oily
If you see a pool of butter on top of your brownies, the emulsion broke. This often happens if the butter was scorching hot when you added the sugar and eggs, effectively "cooking" the eggs before they could bond with the fat. Let your melted butter cool for a minute or two before you start whisking.
Another culprit could be using a low quality cocoa powder that has a very high fat content, though that is less common than the temperature issue.
| Problem | Root Cause | Solution |
|---|---|---|
| Dull Top | Not enough whisking | Whisk the sugar and eggs for at least 2 minutes until frothy. |
| Crumbly | Overbaked | Pull them out when the center still looks slightly soft. |
| Raw Middle | Oven too hot | Use an oven thermometer to ensure a true 350°F (175°C). |
Common Mistakes Checklist
- ✓ Always use room temperature eggs so they emulsify properly with the melted butter.
- ✓ Sift your cocoa powder to ensure there are no bitter, dry clumps in the final bite.
- ✓ Use the "sling" method with parchment paper for stress free removal from the pan.
- ✓ Let the brownies cool for the full 1 hour; cutting them hot will result in a messy, unset center.
- ✓ Don't skip the salt; it is what makes the chocolate flavor "pop."
Adjusting for More Servings
If you need to feed a larger crowd, you can easily double this recipe for a 9x13 inch pan. When doubling, I suggest keeping the salt and vanilla at 1.5x the original amount rather than a full 2x to keep the flavors balanced.
For a doubled batch, you'll need to increase the baking time by about 5-10 minutes, but keep a close eye on them. The edges will set first, so check the center frequently starting at the 30 minute mark.
When halving the recipe for a tiny toaster oven batch, use a small loaf pan. Since you can't easily halve an egg, whisk one egg in a small bowl, weigh it, and use half of the liquid. Reduce the baking time by about 20% and start checking for doneness at 18 minutes.
It's a bit more work, but it's perfect for when you want a treat without having 16 brownies staring at you from the counter.
Debunking Typical Brownie Myths
One common misconception is that you need "blooming" cocoa in boiling water to get a deep chocolate flavor. While blooming works for some recipes, the high fat content from the butter and the acidity from the yogurt in this version provide enough of a flavor catalyst to make the cocoa shine without the extra step.
The heat of the oven and the melted butter do plenty of work to "wake up" the cocoa solids.
Another myth is that "the more you whisk, the better the brownie." This is only half true. You want to whisk the life out of the butter, sugar, and eggs to create that meringue style top. However, once the flour is in, any more whisking is the enemy. It develops gluten, and gluten is for bread, not fudgy brownies.
Keep the whisking for the beginning and the folding for the end.
Storage and Zero Waste Tips
These brownies stay remarkably fudgy when stored in an airtight container at room temperature for up to 4 days. If you like them even denser, try keeping them in the fridge; they turn into almost a truffle like consistency when cold.
For long term storage, you can freeze individual squares wrapped in plastic wrap and tucked into a freezer bag for up to 3 months. Just thaw at room temperature for an hour before eating.
If you find yourself with a few "heels" or edge pieces that have gone a bit stale, don't throw them away! Crumble them up and use them as a topping for vanilla bean ice cream. You can even pulse the scraps in a food processor to make a "brownie dirt" for a decadent parfait. If you're looking for other ways to use up pantry staples, check out my simple homemade brownies concept as a base for many other desserts.
Serving Ideas for Your Dessert
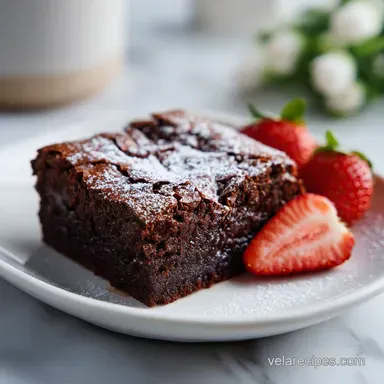
When it comes to presentation, I love a good color balance to make the dark chocolate pop. My go to strategy involves three specific accents. First, a light dusting of powdered sugar across the top provides a crisp white contrast.
Second, I love adding 3 or 4 fresh raspberries to the side of the plate; the bright red is spectacular against the deep brown. Finally, a tiny pinch of flaky sea salt right before serving adds a subtle sparkle and makes the chocolate flavor even more intense.
For a truly foolproof "wow" factor, serve these brownies while they are still just a tiny bit warm (after they've had their hour of cooling) with a scoop of cold mascarpone or a dollop of whipped cream. The temperature contrast is spectacular.
If you're feeling adventurous, a drizzle of salted caramel or a few crushed toasted hazelnuts adds a lovely crunch that complements the velvety center. Whatever you do, make sure you have a glass of cold milk nearby!

Recipe FAQs
How to achieve the signature crackle top on these brownies?
Whisk the eggs, vanilla, and Greek yogurt vigorously into the butter and sugar mixture. Continuing until the batter appears pale and slightly frothy creates the chemical structure necessary for that shiny, thin crust to form during baking.
Is it true I can pull the brownies out of the oven as soon as the timer hits 25 minutes?
No, this is a common misconception. You must check the center with a toothpick; it should come out with a few moist crumbs attached, indicating they are done but still fudgy.
How to ensure the brownies have a true fudge texture rather than a cakey one?
Stop folding the dry ingredients into the wet mixture the moment no white streaks remain. Over mixing develops the gluten in the flour, which transforms the desired dense, fudgy crumb into a light, cake like texture.
Can I slice these immediately after taking them out of the oven?
No, you must wait at least 1 hour. The brownies require this full cooling time in the pan to properly set their internal structure; slicing too early will result in a messy, gooey pile instead of clean, fudgy squares.
Is it necessary to use a double boiler to melt the butter for this recipe?
No, this is a common misconception. A microwave safe bowl works perfectly for melting your butter before whisking it with the granulated sugar.
How to store brownies to maintain their dense, truffle like consistency?
Keep them in the refrigerator inside an airtight container. While they stay fudgy at room temperature for 4 days, chilling them firms up the fats and chocolate, giving them an indulgent, dense bite.
How to freeze leftover brownies for later?
Wrap individual squares tightly in plastic wrap and place them in a freezer bag. They will maintain their quality for up to 3 months, and you can simply thaw them at room temperature for one hour before serving.
Simple Fudgy Brownie Recipe
Ingredients:
Instructions:
Nutrition Facts:
| Calories | 141 kcal |
|---|---|
| Protein | 2.3 g |
| Fat | 8.1 g |
| Carbs | 16.2 g |
| Fiber | 1.4 g |
| Sugar | 10.2 g |
| Sodium | 79 mg |
