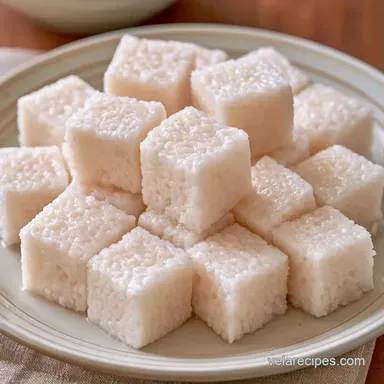
Translucent Bai Tang Gao
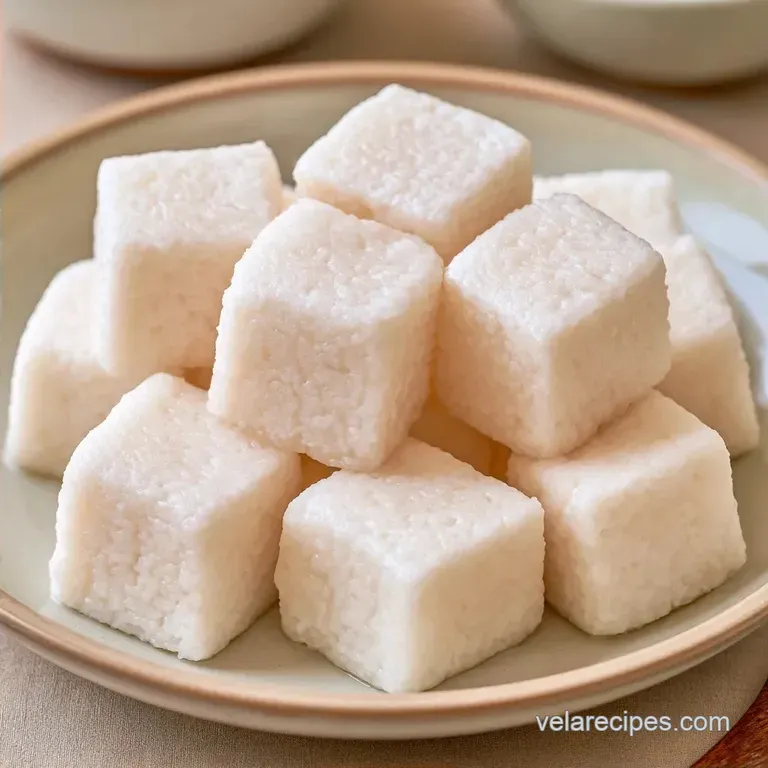
- Time: 20 min active + 2 hrs resting + 1 hr cooling
- Flavor/Texture Hook: Sweet, springy, and translucent
- Perfect for: Lunar New Year or tea time snacks
Authentic Bai Tang Gao Steam Cake
The hiss of a heavy bamboo steamer always takes me back to my aunt's kitchen during the holidays. There's a specific smell that fills the room, a mix of sweet steam and warm rice, that tells you the cake is almost ready.
I remember watching her wait for those tiny bubbles to peak on the batter before it ever touched the heat.
If you've tried this before and ended up with a rubbery, white brick, you're not alone. I used to think my yeast was dead, but the problem was actually my stove. The heat wasn't aggressive enough to push those air pockets upward.
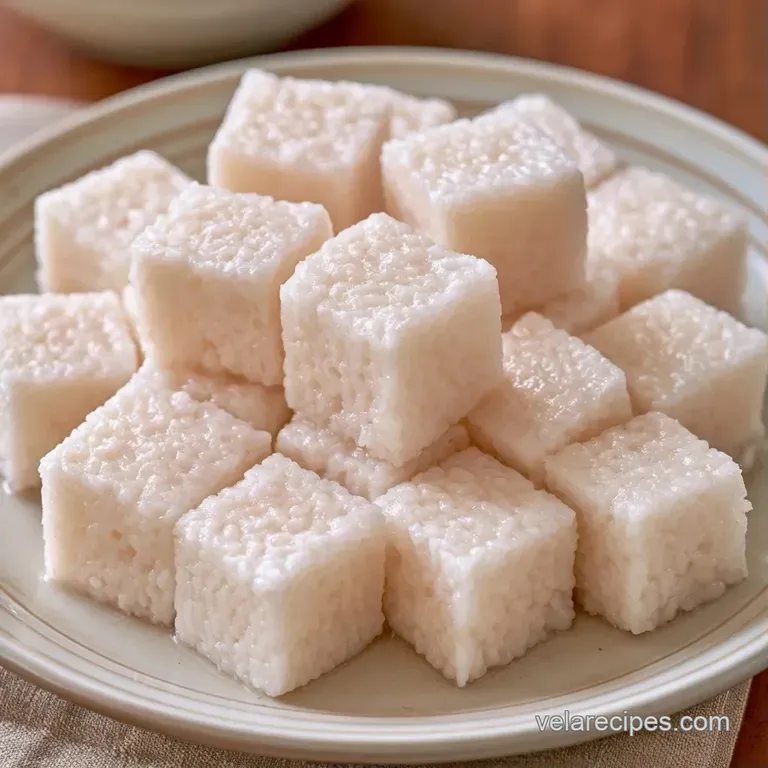
This Bai Tang Gao is all about that honeycomb structure. It's not a fluffy cake like a sponge; it's a bouncy, translucent delight that's subtly sweet and light on the stomach.
Quick Recipe Specs
This recipe is designed for a small family gathering or a weekend treat. Because it requires a significant resting period, it's best to start your batter in the morning if you want to serve it for afternoon tea.
The total time is 180 minutes, but most of that is hands off. You spend about 20 minutes mixing and another 40 minutes steaming. The real work happens while you're doing other things, waiting for the yeast to activate and the cake to set.
Gathering Your Essentials
Stick to the measurements here. Since we're dealing with starches and yeast, the ratio of liquid to flour determines if you get holes or a solid block.
| Ingredient | Role | If You Don't Have It |
|---|---|---|
| Rice Flour (130g) | Main Structure | Glutinous rice flour (will be much stickier) |
| Wheat Starch (60g) | Translucency | Cornstarch (less clear, more opaque) |
| Sugar (100g) | Sweetness/Food | Honey (changes color and adds floral notes) |
| Warm Water (300ml) | Hydration | Coconut water (adds a subtle nutty flavor) |
| Instant Yeast (3g) | Aeration | Baking powder (creates smaller, denser holes) |
Using a digital scale is a huge help here. Measuring by volume can be tricky with rice flour because it packs down, which often leads to a cake that's too dense.
| Original Ingredient | Substitute | Why It Works |
|---|---|---|
| Wheat Starch | Cornstarch | Similar thickening properties. Note: Result is more opaque |
| Granulated Sugar | Coconut Sugar | Same sweetness level. Note: Cake turns brown |
| Warm Water | Warm Milk | Adds richness. Note: Heavier texture |
Essential Kitchen Gear
While a professional kitchen isn't necessary, having a few specific tools makes the process much easier. A 6 inch round cake pan is typical, though any heat proof container that fits inside your steamer is acceptable.
Whether you use a traditional bamboo steamer or a metal one, the most important factor is a tight fitting lid to trap the steam. If your lid doesn't seal perfectly, wrap it in a kitchen towel to keep the heat from escaping.
Chef's Tip: Freeze your parchment paper for 5 minutes before lining the pan. This keeps it flat and prevents it from curling, which stops batter from leaking underneath.
The Steaming Process
Phase 1: Mixing the Batter
Combine the rice flour, wheat starch, and sugar in a mixing bowl. Gradually whisk in the warm water. Stir in the instant yeast until the batter is smooth and lump free. Note: The consistency should be thin and pourable, rather than thick like pancake batter.
Phase 2: The Activation Rest
Cover the bowl with a damp cloth and leave it in a warm area for 1.5 to 2 hours. Wait until you notice small bubbles forming on the surface and a slight increase in volume.
Phase 3: The over High heat Steam
Line a 6 inch pan with parchment paper and pour in the batter. Bring your steamer to a rolling boil over high heat. Steam the cake on high for 30-40 minutes until the top feels springy and a toothpick inserted comes out clean.
Phase 4: The Cool Down
Take the pan out of the steamer. Allow the cake to cool entirely in the pan for at least 1 hour. Note: Cutting into it too soon ruins the bouncy texture and makes it gummy.
Fixing Common Texture Issues
Fixing Flat Cakes
If your cake didn't rise, your heat was likely too low. The steam needs to be violent to push the yeast bubbles up. Ensure the water is boiling vigorously before the pan goes in and keep the flame on high.
Managing Sticky Texture
A gummy or sticky Bai Tang Gao usually means it was sliced while hot. The starches need time to stabilize as they cool. Be patient and wait the full hour before removing it from the pan.
Handling Sour Tastes
A slightly sour flavor happens when the batter rests too long or in a spot that's too hot. Stick to the 2 hour window. If your kitchen is very warm, check the batter at 90 minutes.
Tasty Flavour Swaps
You can easily change the profile of this dessert. For a Pandan version, replace 50ml of the water with concentrated pandan extract. It turns the cake a vibrant green and adds a vanilla like aroma.
If you want something richer, try a coconut infusion by using full fat coconut milk instead of water. This makes the cake denser but adds a lovely creaminess. For those who enjoy other steamed treats, this pairs well with Royal Rice Cakes for a diverse dessert platter.
If you're looking for something completely different for a party, an Ice Cream Sandwich provides a great cold contrast to this warm, steamed cake.
| Goal | What to change | Result |
|---|---|---|
| More Holes | Higher Heat | Vigorously boiling water |
| Softer Bite | Less Starch | Use 50g wheat starch |
| Sweeter Taste | Add Sugar | Increase sugar to 120g |
Storage and Waste Tips
Store any remaining cake in an airtight container in the refrigerator for up to 3 days. Some people actually prefer the firmer consistency that comes from chilling.
To warm it up, steam it again for 5 minutes or use a toaster oven at 180°C for 3 minutes. Try not to use a microwave, as this can result in rubbery edges.
To prevent waste, you can pour any tiny bit of leftover batter into a small ramekin and steam it along with the main cake for a quick taste test.
Serving Suggestions
This cake is best served in small, bite sized cubes. It's a subtle dessert, so it doesn't need much. A light drizzle of honey or a sprinkle of toasted sesame seeds on top adds a nice touch.
It's spectacular when served with a pot of strong Oolong or Pu erh tea. The bitterness of the tea cuts through the sweetness of the rice cake, making it a balanced snack.
How This Actually Works
The wheat starch gelatinizes under high heat, creating that translucent look. The yeast produces gas that gets trapped by the starch, forming the honeycomb structure in this Bai Tang Gao.
High Thermal Shock: Moving the batter from room temperature into a boiling steamer causes the gases to expand rapidly, which creates the holes.
Starch Ratio: The mix of rice flour and wheat starch ensures the cake is stable but still has a slight "give" when you bite into it.
Recipe FAQs
What is Bai Tang Gao in English?
It translates to White Sugar Sponge Cake.
Tip: Serve it in small cubes for a traditional look.
Does Bai Tang Gao need to be refrigerated?
Store leftovers in a sealed container in the cold for up to 3 days.
Tip: This pairs well with a warm drink, similar to how we serve our cinnamon roll breakfast.
How to make this cake in a rice cooker?
Pour the batter into the rice cooker bowl and use the "cake" or "steam" setting for 40 minutes.
Tip: Line the bowl with parchment paper for easier removal.
Is it true you can slice the cake while it is still hot?
Surprisingly, no. The cake requires at least one hour of cooling to set its bouncy texture.
Tip: Let it cool completely in the pan to prevent the slices from collapsing.
Bai Tang Gao Rice Cake