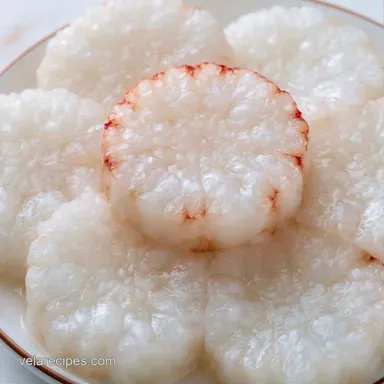
Chewy Homemade Rice Cakes (Garaetteok)
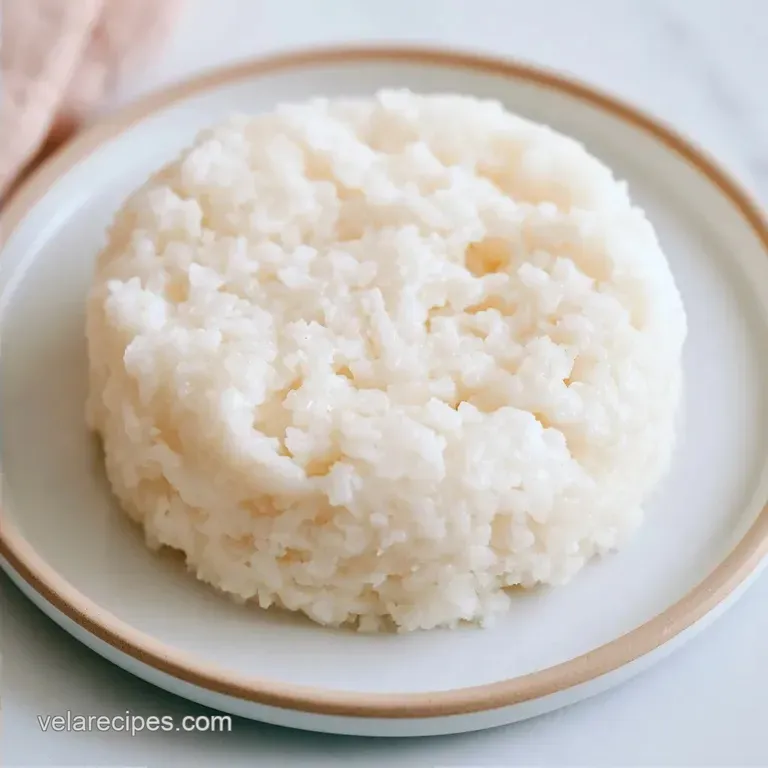
- Time: 25 min active + 25 min cook
- Flavor/Texture Hook: Bouncy, pearlescent, and chewy
- Perfect for: Healthy snacks or traditional Korean sides
The smell of steaming rice is something that always takes me back. In Korea, Garaetteok is more than just food, it's a tradition. I remember seeing these long, white cylinders being pulled and cut in bustling markets, the air thick with a clean, starchy sweetness that feels like home.
You don't need a massive steamer or a professional setup to get this right. I've found that the trick is just managing the moisture. If the dough is too dry, it cracks, but too wet and you've got a sticky mess on your hands.
These Homemade Rice Cakes are a nourishing alternative to the vacuum packed versions. We're using simple ingredients to get that distinct "snap" and chew that makes this dish so satisfying.
The Trick Behind the Texture
- Starch Gelatinization: Heat and water cause the rice starch to swell and burst, turning powder into a bouncy mass.
- Steam Heat: Steaming ensures the heat is even, which prevents the outside from hardening before the inside cooks.
If you're interested in how different rices behave, my Nian Gao recipe shows how coconut milk changes the profile.
| Method | Time | Texture | Best For |
|---|---|---|---|
| Stovetop Steamer | 20 mins | Uniformly bouncy | Traditional results |
| Microwave | 6-8 mins | Slightly denser | Quick weeknight meals |
Quick Recipe Specs
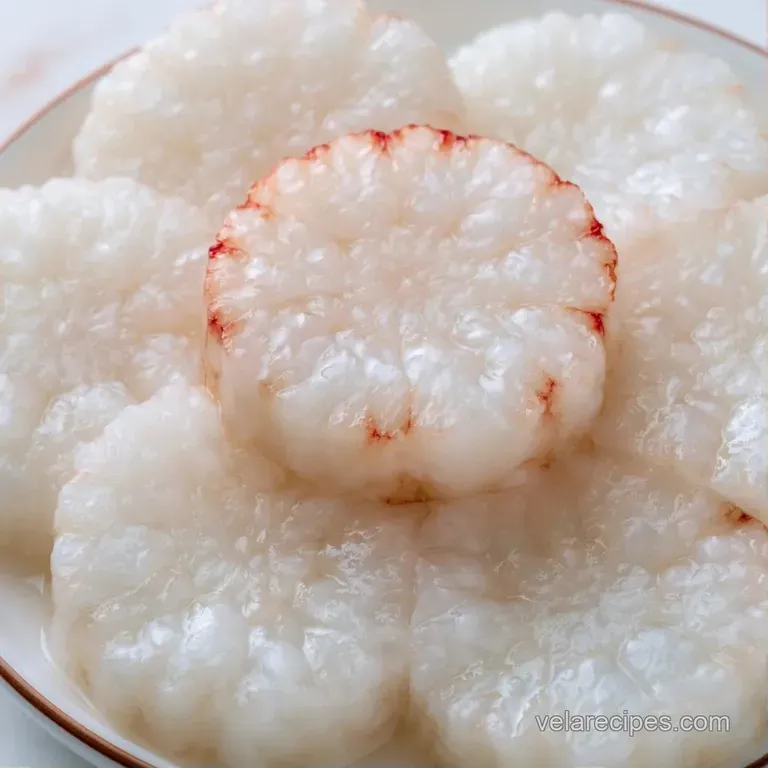
For this batch, we're aiming for a consistent, pearlescent white color. You'll notice the dough change from a matte powder to a glossy, translucent finish. Trust your eyes here more than the clock.
The goal is a dough that feels like soft clay. If it sticks to your finger, it needs a touch more oil, not more flour.
Ingredient Deep Dive
| Component | Purpose | Substitute Notes |
|---|---|---|
| Glutinous Rice Flour | Provides the "bounce" | Brown rice flour: denser, less sticky |
| Water | Hydrates the starch | Coconut water: adds a hint of sweetness |
| Sea Salt | Balances the blandness | Potassium salt: can be slightly bitter |
For the Rice Dough
- 2 cups (250g) short grain glutinous rice flour Why this? Essential for the chewy, sticky texture
- ¾ cup (180ml) water Why this? Precise amount for a non sticky dough
- ½ tsp (3g) fine sea salt Why this? Brings out the natural rice flavor
For the Finishing Touch
- 1 tbsp (15ml) neutral oil Why this? Prevents sticking during shaping
- 1 tbsp (15ml) toasted sesame oil Why this? Adds a nutty, vibrant aroma
Tools You Will Need
You can get by with basic gear. A simple mixing bowl and a whisk are all you need for the base. For the cooking, a bamboo steamer is great, but a heat proof glass bowl with a plate on top works too.
If you're using a microwave, just make sure your bowl is microwave safe and you have some damp paper towels handy.
Bringing It Together
Phase 1: Preparing the Base
- Sift the rice flour into the mixing bowl. Note: This stops clumps from forming in the dough
- Gradually whisk in the salt and water. Stir until a shaggy dough forms.
- Let the dough rest for 5 minutes. Note: This lets the flour absorb the water fully
Phase 2: Cooking the Starch
- Place the dough in a steamer over medium heat. Cook for 20 minutes until the dough looks translucent and glossy.
- If using a microwave, heat in 2 minute bursts. Stir in between until the dough is sticky and pearlescent.
- Check the color. Ensure it stays white and does not brown.
Phase 3: Shaping and Finishing
- Lightly grease your hands with neutral oil.
- Roll the warm dough into cylinders on a greased surface.
- Coat the cylinders in toasted sesame oil to stop them from sticking.
- Cut into 2 inch pieces.
What Can Go Wrong
The most common issue is the "sticky factor." If the dough is clinging to everything, you're probably fighting the starch. Don't panic and add more flour, as that will make the Homemade Rice Cakes gritty. Just use more oil.
Another thing to watch for is the "gummy" center. This happens when the heat isn't high enough or the steaming time is too short. You want that glossy look throughout.
Solving Sticky Dough
Use oil on your palms. The dough is naturally adhesive, so the oil creates a barrier.
Fixing Gummy Texture
Steam for another 5 minutes. The starch needs to fully set to get that bounce.
Preventing Hard Edges
Keep the steamer lid tight. If steam escapes, the edges dry out and become crusty.
| Problem | Root Cause | Solution |
|---|---|---|
| Dough is too wet | Excess water | Steam longer or add 1 tbsp flour |
| Dough is cracking | Not enough hydration | Add water 1 tsp at a time |
| Lacks "bounce" | Undercooked starch | Steam until translucent |
Pairing Ideas
These are brilliant on their own, but they really shine when paired with a bold sauce. I love searing them in a pan for 3 minutes per side until they bubble and crisp.
For a full meal, try these in a Korean rice cakes soup for something warming. If you prefer something spicy, a gochujang based sauce is the classic way to go.
Chef's Note: Try adding a pinch of turmeric to the flour for a vibrant yellow color that looks great on a platter.
Preservation Guidelines
Keep the cakes in a sealed container in the cooler for 3 days. They might harden a bit in the cold, but a quick steam or pan fry brings them back to life.
For longer storage, freeze them for 2 months. Toss them in a freezer bag with a bit of oil between the pieces so they don't freeze into one giant block.
To avoid waste, if you have small scraps of dough left over, toss them into a pot of simmering broth for a quick, chewy addition to a soup.
Flavor Variations to Try
Savory Ideas
Incorporate some finely minced chives or garlic powder during the mixing stage. This makes them an ideal snack when served with a soy ginger dipping sauce.
Sweet Ideas
Mix in a tablespoon of maple syrup or honey. These versions work beautifully as a dessert, perhaps topped with toasted sesame seeds and a drizzle of syrup.
Healthier Choice
Replace half of the white glutinous rice flour with brown glutinous rice flour. This adds more fiber and creates a tan color, although the texture is slightly less springy.
Now you're ready to go. Making Homemade Rice Cakes takes a bit of patience while steaming, but they are much fresher than store-bought versions. Enjoy the chew!
Recipe FAQs
How to make Homemade Rice Cakes?
Sift rice flour, whisk in salt and water, and let the dough rest for 5 minutes. Steam the mixture on medium for 20 minutes until it turns translucent and glossy.
Is it true these are just puffed rice?
That's a myth. These are chewy, steamed cakes made from glutinous rice flour, which is entirely different from the airy, puffed versions sold in stores.
What holds the rice cakes together?
Starch gelatinization acts as the binder. Heat and water cause the rice starch to swell and burst, turning the flour into a bouncy mass.
What is the best way to fry a rice cake?
Brown them in a pan with a small amount of neutral oil until the edges are golden. For another great example of this searing method, check out our beef potato skillet.
Homemade Rice Cakes