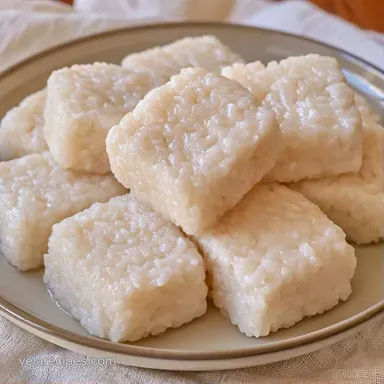
Authentic Chinese Glutinous Rice Cake
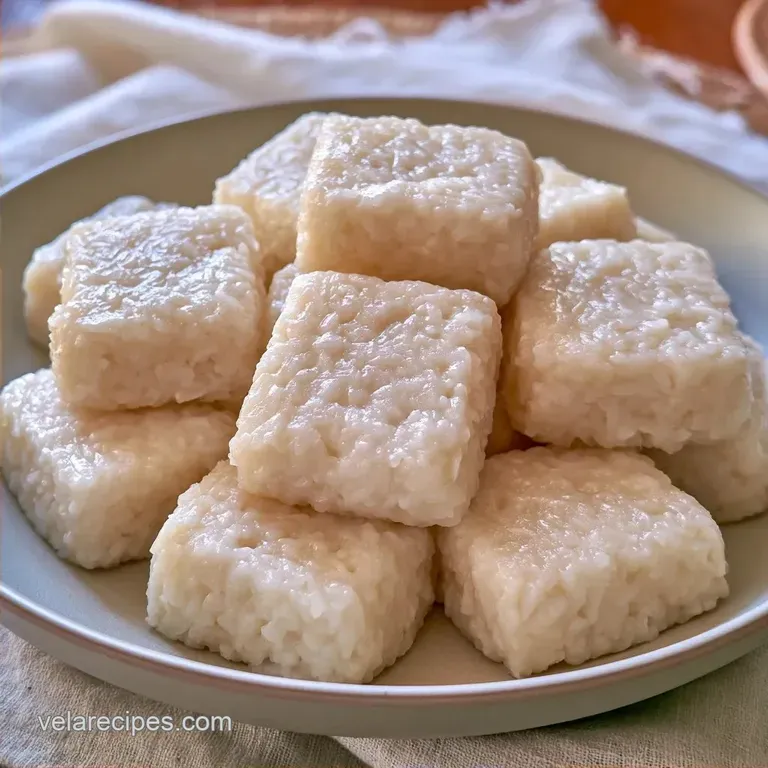
- Time: 15 min active + 30 min steaming + 1 hour chilling
- Flavor/Texture Hook: Chewy, bouncy, and coconut-forward
- Perfect for: Lunar New Year or a relaxing weekend snack
The scent of steaming coconut milk always brings me back to my grandmother’s house during Lunar New Year. I can still picture the room filled with thick white vapor and hear the steady hiss of the steamer. Everything was hectic and warm, but the rice cakes were the highlight we all looked forward to.
There is a comforting quality to that specific chewiness, almost like a culinary hug. If you've never tried it, imagine a blend between a dense pudding and soft mochi. We're aiming for that signature "QQ" texture the springy, resilient bite that makes these so addictive.
We are keeping the process straightforward. No specialized tools are required, just a steamer and a few basic pantry items. Whether served plain and tender or pan-fried until the edges are caramelized, this delightful treat will make your kitchen smell like a tropical getaway.
Why the Texture Bounces
Amylopectin Power: Glutinous rice is high in amylopectin, which creates a branched structure that traps moisture and gives the cake its springy bounce.
Coconut Fat: The high fat content in full fat coconut milk prevents the starch from becoming too gluey, keeping the crumb tender.
Ingredient Deep Dive
Before we get into the mixing, it helps to know what's actually happening in the bowl. Glutinous rice flour isn't actually "glutenous" in the wheat sense, but it's what gives the cake its structure.
| Ingredient | What It Does | Best Swap |
|---|---|---|
| Glutinous Rice Flour | Creates the chewy "QQ" structure | Mochi flour (1:1 ratio) |
| Full Fat Coconut Milk | Adds richness and softens the bite | Heavy cream (adds dairy flavor) |
| Granulated Sugar | Provides sweetness and helps tenderness | Maple syrup (makes it denser) |
| Salt | Balances the sweetness | None (keep it for flavor) |
Using the right flour is the biggest hurdle here. If you use regular rice flour, you'll end up with a crumbly cake instead of a chewy one. Always double check the bag for the word "glutinous."
Gathering Your Essentials
For the batter, you'll need these exact measurements. I've found that weighing ingredients is the only way to ensure the cake sets properly every time.
For the Batter
- 2 cups (225g) glutinous rice flourWhy this? Essential for the bouncy, chewy texture
- 1/2 cup (100g) granulated sugarWhy this? Provides a clean sweetness that doesn't overpower coconut
- 1 can (13.5 oz / 400ml) full fat coconut milkWhy this? Adds fat for a velvety mouthfeel
- 1/4 tsp (1.5g) saltWhy this? Sharpens the other flavors
For the Pan Sear (Optional) - 2 tbsp (30ml) coconut oil Why this? Complements the cake flavor while frying - 1 tbsp (15g) brown sugar Why this? Creates a deep, caramelized crust
For the Pan - 1 tbsp (15ml) neutral vegetable oil Why this? Prevents sticking without adding flavor
Equipment Needed
You don't need a professional setup for this. A basic home kitchen will do just fine. I usually use a standard bamboo steamer, but a metal one works too.
- 8 inch round cake pan or heat proof glass dish
- Large mixing bowl
- Whisk
- Spatula
- Aluminum foil
- Steamer (bamboo or metal)
- Non stick skillet (for frying)
The Cooking Process
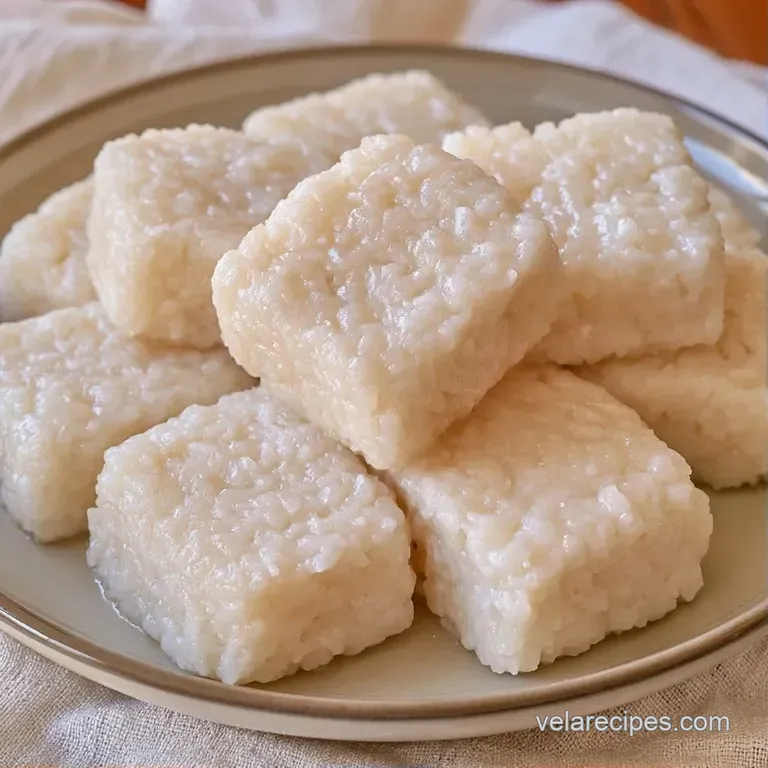
Let's get started. We want a silky batter and a secure seal on the pan to ensure the top remains smooth and pit-free.
1. Preparing the Base
Thoroughly grease an 8 inch cake pan with vegetable oil. Be sure to coat the bottom and sides so the cake releases easily. In a large bowl, whisk together the glutinous rice flour, granulated sugar, and salt.
2. Mixing the Batter
Gradually stir in the full fat coconut milk, whisking continuously to eliminate any lumps. Keep mixing until the batter is completely smooth and resembles a thick pancake batter. This is a critical checkpoint: any remaining lumps will lead to an uneven texture.
3. The Steam Setup
Transfer the batter to the prepared pan and level the top with a spatula. Seal the pan tightly with aluminum foil; this is a key step to prevent condensation from dripping onto the cake.
4. The Steaming Phase
Set the pan in a steamer over boiling water and steam on medium heat for 25–30 minutes. The cake is finished when the edges are set and the center no longer jiggles like a liquid when the pan is gently shaken.
5. The Setting Period
Take the pan out of the steamer and let the cake cool entirely in the pan for at least 1 hour. If you slice it while hot, it will be sticky and cling to your knife.
6. Final Slicing
Once cooled, run a knife around the perimeter. Flip the cake onto a cutting board and slice it into 12 pieces.
7. The Optional Sear
Heat coconut oil in a skillet. Add a slice of cake and a pinch of brown sugar. Pan fry for 2-3 minutes per side until the sugar bubbles and turns a deep golden brown.
Fixing Common Issues
While this Glutinous Rice Cake recipe is straightforward, a few things can go wrong. Here is how to resolve the most frequent issues.
Slicing a Sticky Cake
If the cake clings to your blade, you likely attempted to slice it too soon. Return it to the refrigerator for 2 hours to ensure the starches are firm. For the cleanest results, use a hot, damp knife and clear the blade between every cut.
Managing Watery Surfaces
Water spots or pitting on the surface occur when steam condenses on the lid and drips down. To prevent this, use a more secure foil seal. If you already have droplets, simply trim the top layer or mask them with a garnish.
Softening a Hard Texture
If the cake seems too firm, it may have been oversteamed or contained too much flour. You can restore the tenderness by pan-frying the pieces. The oil and heat re-hydrate the starches, making the texture soft again.
Adjusting the Batch Size
If you're just making this for yourself, you can easily scale it down. For a half batch, use a 6 inch pan and reduce the steaming time by about 20%. If you're making a double batch, work in two separate pans rather than one deep one to ensure the center cooks through.
For those who want an even smaller snack, you might enjoy my Cakes for 4 Servings recipe which uses a different approach.
| Method | Flour Amount | Pan Size | Steam Time |
|---|---|---|---|
| Half Batch | 1 cup | 6 inch | 20-24 mins |
| Full Batch | 2 cups | 8 inch | 25-30 mins |
| Double Batch | 4 cups | Two 8 inch | 30-35 mins |
Keeping It Fresh
Store your slices in a container with parchment paper between them so they don't fuse together. Keep them in the fridge for 3 to 5 days.
If you want them to last longer, wrap the whole cake in plastic wrap and freeze it for up to 2 months. To eat, let it thaw in the fridge overnight or pop a slice straight into a skillet with a bit of butter.
To avoid waste, any small scraps or broken edges can be tossed into a stir fry. They act like little chewy dumplings that soak up the sauce.
Serving and Color Accents
Since the cake is naturally a pale white, the presentation relies on color balance. I like to use three specific accents to make the plate pop.
First, add a touch of green. I use a drizzle of pandan syrup or a few mint leaves. Second, add a bright red hit, like toasted sesame seeds or a few goji berries. Finally, use a yellow accent, such as fresh mango cubes. Adding these right before serving keeps the colors vivid and the plate looking spectacular.
Chef's Note: For a truly fear free experience, grease your knife with a tiny bit of oil before slicing. It prevents the cake from pulling and keeps your edges sharp.
Creative Twist Ideas
After you've mastered the basic glutinous rice cake, feel free to experiment with different flavors.
Pandan Twist Substitute 1/4 cup of the coconut milk for pandan extract. This gives the cake a vibrant green hue and a nutty, vanilla like aroma.
Rich Brown Sugar Use dark brown sugar instead of granulated sugar. This shifts the color to a light tan and introduces a molasses depth, perfect for those who prefer a more mellow sweetness.
Savory Option If you aren't in the mood for something sweet, omit the sugar and stir in a pinch of garlic powder and soy sauce. If you enjoy that profile, you should definitely try my Rice Cakes with Beef recipe for a complete meal.
Baked Alternative While steaming is the traditional route, you can bake these at 325°F for roughly 35-40 minutes. Just note that the texture will be slightly closer to a dense cake and less like a springy mochi.
Common Rice Cake Misconceptions
Many believe that a professional steam oven is required to achieve the "QQ" texture. That isn't the case; a basic pot with a tight lid and a steamer basket works just as well.
Another frequent myth is that any rice flour will work. Standard rice flour lacks the specific starch structure found in glutinous rice, so it will never produce that signature chew. Always use glutinous rice flour for this result.
Now you're all set. Success depends on maintaining a tight seal during steaming and having patience during the cooling process. Once you see those golden brown edges in the pan, you'll understand why this is such a favorite. Enjoy!
Recipe FAQs
Is it true that glutinous rice cake is a health food?
Actually, no. This is a calorie dense dessert high in carbohydrates and saturated coconut fats.
Tip: Serve small slices to balance the richness.
Does glutinous rice cake count as the same thing as mochi?
Surprisingly, no. Mochi is typically pounded for extreme elasticity, while nian gao is steamed for a denser, bouncy feel.
Tip: If you enjoy these traditional textures, explore our honey cookies recipe.
How to make an authentic rice cake?
Whisk together glutinous rice flour, sugar, and salt before slowly stirring in the coconut milk.
Tip: Use a spatula to smooth the top before steaming to ensure a level surface.
What is the shelf life of this cake?
The cake remains fresh for three to five days when kept chilled.
Tip: Wrap individual slices in parchment paper to prevent sticking.
Can regular brown sugar replace a sugar slab?
Regular brown sugar works effectively for the optional pan-frying step.
Tip: Melt the sugar in coconut oil first to create a quick caramel glaze.
Why does my rice cake surface look uneven?
Water droplets from the steamer lid likely leaked onto the batter during cooking.
Tip: Press the aluminum foil firmly against the rim of the pan to create a waterproof seal.
Glutinous Rice Cake Recipe