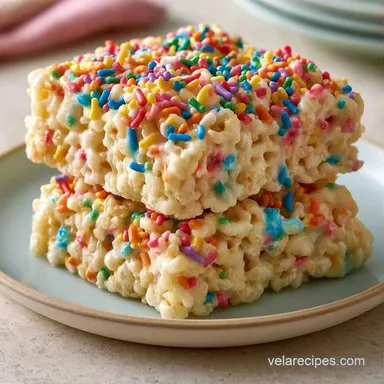
Birthday Cake Rice Krispie Treat Recipe in 15 Minutes
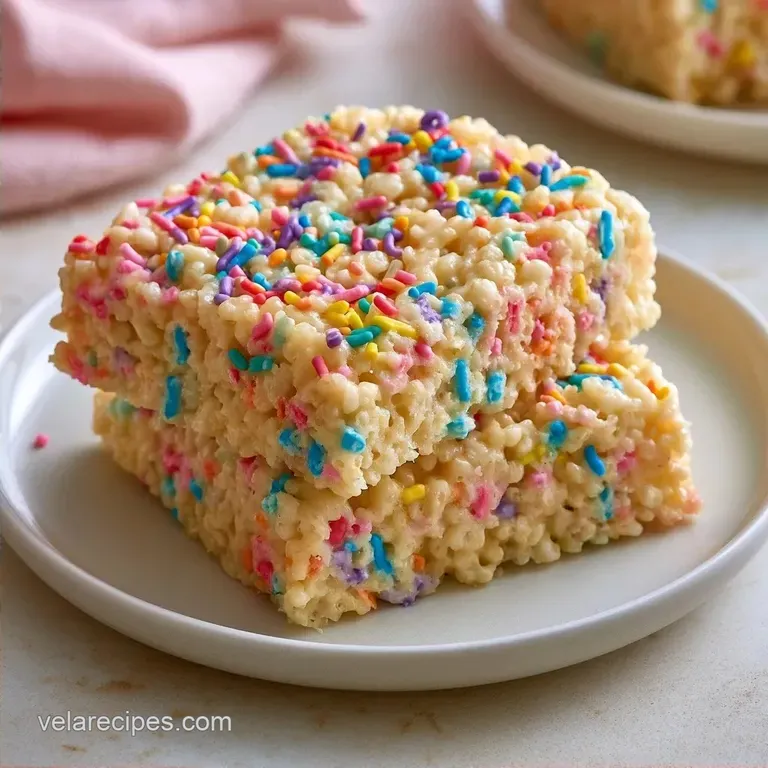
- Time: 10 min active + 30 min chilling
- Flavor/Texture Hook: Buttery, crunchy, and celebratory
- Perfect for: Birthday parties, bake sales, or midnight snacks
The aroma of melted butter and caramelizing sugar always reminds me of being a kid, though my initial try at incorporating cake mix was a total fail. I simply folded raw powder into the marshmallows, and the outcome was incredibly gritty. It tasted like raw flour and sugar, and the mouthfeel was completely wrong.
I puzzled over why other recipes tasted like genuine cake while mine felt coarse. The secret is a simple heat based adjustment. By warming the dry mix beforehand, you eliminate that raw starchiness and unlock a toasted, buttery note that melds perfectly with the cereal.
These treats strike the perfect chord. You keep that beloved signature crunch but add a nostalgic cake profile that elevates them to a real dessert. Believe me, once you use the heat treatment technique, you'll never use raw mix again.
Birthday Cake Rice Krispie Treat Recipe
First, here are the fundamentals. This recipe produces 16 squares that remain chewy and vibrant. Prep takes 10 minutes and cooking takes 5 minutes, but keep in mind they need 30 minutes to set before eating.
As a no-bake option, these are incredibly simple for anyone who isn't comfortable using an oven. The total time is 45 minutes, most of which is simply waiting for the treats to firm up.
What's in the Shopping List
For the base, we use standard staples, but the cake mix is where the magic happens. You can use yellow or white cake mix, depending on how "classic" you want the flavor to be.
| Original Ingredient | Substitute | Why It Works |
|---|---|---|
| Unsalted Butter (4 tbsp) | Coconut Oil (4 tbsp) | Similar fat content. Note: Adds a slight coconut flavor |
| Yellow Cake Mix (1/2 cup) | Almond Flour + 1 tbsp Sugar | gluten-free option. Note: Grainier texture than mix |
| Mini Marshmallows (10 oz) | Vegan Marshmallows (10 oz) | Plant based alternative. Note: May not set as firmly |
Some folks ask if they can use actual cake crumbs instead of mix. Here is how that stacks up:
| Feature | Cake Mix Shortcut | Fresh Cake Crumbs |
|---|---|---|
| Prep Time | 2 minutes | 1 hour (bake/cool) |
| Texture | Smooth and consistent | Richer and denser |
| Flavor | Pure nostalgic cake | Deep buttery flavor |
Gear You'll Actually Need
Standard kitchen tools are all you need. A medium, thick bottomed pot works best here to keep the butter from scorching.
I always reach for a rubber spatula, which is the best tool for scraping every bit of gooey marshmallow off the sides of the pot. Avoid using a metal spoon, as it can scratch your pans and make a mess.
You will also need an 8x8 inch baking pan and parchment paper. Don't skip the liner; greasing the pan with butter isn't enough, and you'll end up struggling with a knife to remove the squares.
Step-by-step Assembly Guide
Time to start the preparation. Maintain a low heat and stay close to the stove to prevent the sugar from scorching.
Toasting the Cake Mix
Pour the dry cake mix into a microwave safe bowl. Heat on high in 30-second increments, stirring between each, until the mixture hits 160°F (71°C) or smells lightly toasted. Set it aside.
Note: This process eliminates the raw flour taste, making it safer to consume.
Creating the Marshmallow Base
In a pot over medium low heat, melt 4 tbsp of unsalted butter. Once it begins to bubble, stir in 10 oz of mini marshmallows. Use a rubber spatula to mix constantly until the consistency is smooth and glossy. Take it off the heat right away.
Note: Overcooking the marshmallows can result in tough treats.
Mixing in the Ingredients
Quickly blend in 1 tsp of vanilla extract and the toasted cake mix. Once combined, gently fold in 6 cups of rice krispies and 1/4 cup of rainbow sprinkles. Stir carefully until the cereal is thoroughly coated.
Setting the Pan
Line an 8x8 inch baking pan with parchment paper. Transfer the mixture into the pan and press it down lightly using a greased spatula. Note: Pressing too firmly can make the treats dense and rubbery.
The Finishing Detail
Melt 2 oz of white chocolate in the microwave using 20-second intervals. Drizzle it over the top in thin lines.
Cooling Time
Let the treats rest for 30 minutes before cutting them into 16 squares.
Why These Techniques Work
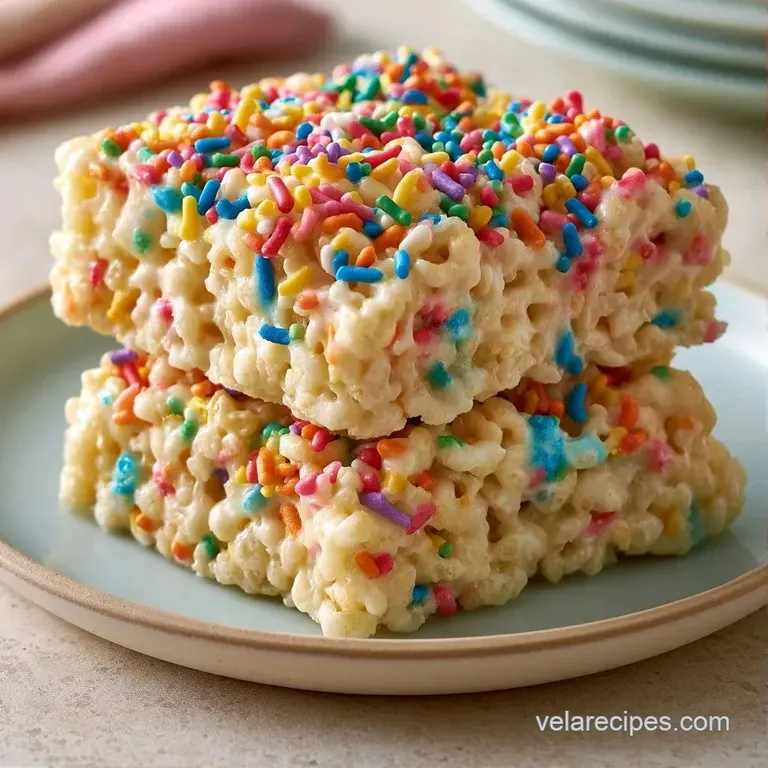
Toasting the Mix: Heating the cake mix to 160°F removes the raw starch flavor and creates a toasted, cake like taste.
Off Heat Mixing: Removing the pot from the stove before adding cereal prevents the sugar from over crystallizing, which keeps them chewy.
According to CDC guidelines, raw flour can contain bacteria, so that microwave step is a non negotiable for safety.
Fixing Common Treat Issues
If your treats come out a bit weird, don't panic. Most issues come down to temperature or how much you pressed the mixture into the pan.
Fixing Hard Treats
This happens when marshmallows are overheated or you pressed the mixture down like you were paving a road. Use a gentle touch. If they're already hard, microwave a square for 5-10 seconds to soften it.
Eliminating Raw Taste
If you still taste raw flour, the cake mix didn't hit that 160°F mark. Next time, use a digital thermometer or smell for a slight nuttiness before adding it to the butter.
Managing Color Bleed
Sprinkles can sometimes bleed their color into the white marshmallow. To stop this, fold them in at the very last second, just before the mixture hits the pan.
| Problem | Fix |
|---|---|
| Hard, tough texture | Lower heat and press gently |
| Raw flour flavor | Microwave mix to 160°F |
| Bleeding sprinkles | Fold in at the very end |
Storage and Leftover Tips
Keep these in an airtight container at room temperature for 3 days. They stay plenty chewy. If you prefer them colder, they'll last in the fridge for about a week, but they get a bit firmer.
For long term storage, wrap individual squares in plastic wrap and toss them in the freezer for up to 2 months. When you want one, just let it sit at room temperature for 15 minutes.
If you have leftover cake mix or butter, you can use them for other snacks. For instance, if you love a chewy rice base, you might enjoy making some homemade rice cakes as a lighter alternative to these sweet treats.
Fun Flavor Swaps
You can easily tweak this Birthday Cake Rice Krispie Treat Recipe to fit your mood. If you want a different vibe, try these changes:
- For a chocolate version: Swap the yellow cake mix for chocolate cake mix and use semi sweet chocolate for the drizzle.
- For a bolder cake taste: Add 1/4 tsp extra vanilla extract.
- For extra gooeyness: Add 1 extra oz of mini marshmallows.
If you're looking for something even more elaborate for a party, you could try a Royal Rice Cakes recipe to serve alongside these for a diverse dessert spread.
Chef's Tip: To get a perfectly smooth drizzle, warm your white chocolate and then transfer it to a small plastic sandwich bag. Snip a tiny corner off and "pipe" the chocolate over the treats.
Making Them Look Great
Since these are for birthdays, presentation is everything. The white chocolate drizzle is a great start, but you can go further.
Try adding a few extra sprinkles on top of the wet chocolate before it sets. This locks the colors in and makes them look like they came from a bakery.
For a real "wow" factor, you can stack the squares into a small pyramid and tie a ribbon around the whole thing. It turns a simple snack into a centerpiece. Just make sure the treats are fully cooled before stacking, or the pyramid will slide right over.
Check for more guidelines at USDA.gov if you're unsure about handling other ingredients for your party.
The result is a Birthday Cake Rice Krispie Treat Recipe that looks spectacular and tastes even better. It's a fear free way to get a professional result without the stress of a complicated bake.
Recipe FAQs
Can I use rice cakes instead of puffed rice cereal?
Surprisingly, no. Rice cakes lack the specific surface area and lightness needed to bond with the melted marshmallow.
Tip: If you enjoy the chewy texture of rice based sweets, try our homemade nian gao.
What gives these treats their signature birthday cake flavor?
The addition of heat treated cake mix provides that nostalgic bakery taste.
Tip: Ensure the mix reaches 160°F to remove the raw flour taste.
How do I avoid overcooking the marshmallow mixture?
Remove the pot from the heat immediately once the marshmallows are smooth and glossy.
Tip: Overheating the sugar makes the final treats rock hard.
Which mistakes most often ruin the texture?
Pressing the mixture too firmly into the pan creates a dense, hard block.
Tip: Press down lightly with a greased spatula.
Why is it necessary to heat the cake mix first?
Microwave the mix in 30-second intervals to kill bacteria found in raw flour.
Tip: Stir frequently to prevent the powder from scorching.
Where should I store these for maximum chewiness?
Keep them in an airtight container at room temperature.
Tip: Avoid the fridge if you prefer a softer bite, as cold temperatures firm up the butter.
Is it true that you must boil the butter before adding marshmallows?
Not true. The butter only needs to be bubbling over medium low heat.
Tip: Low heat prevents the marshmallows from scorching.
In what way can I get perfectly clean squares?
Use a sharp knife and wipe it clean between each cut.
Tip: Let the treats cool for the full 30 minutes before slicing.
Birthday Cake Rice Krispie Treats