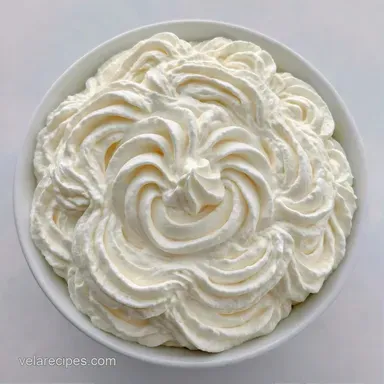
Quick Whipped Cream Dessert in 5 Minutes
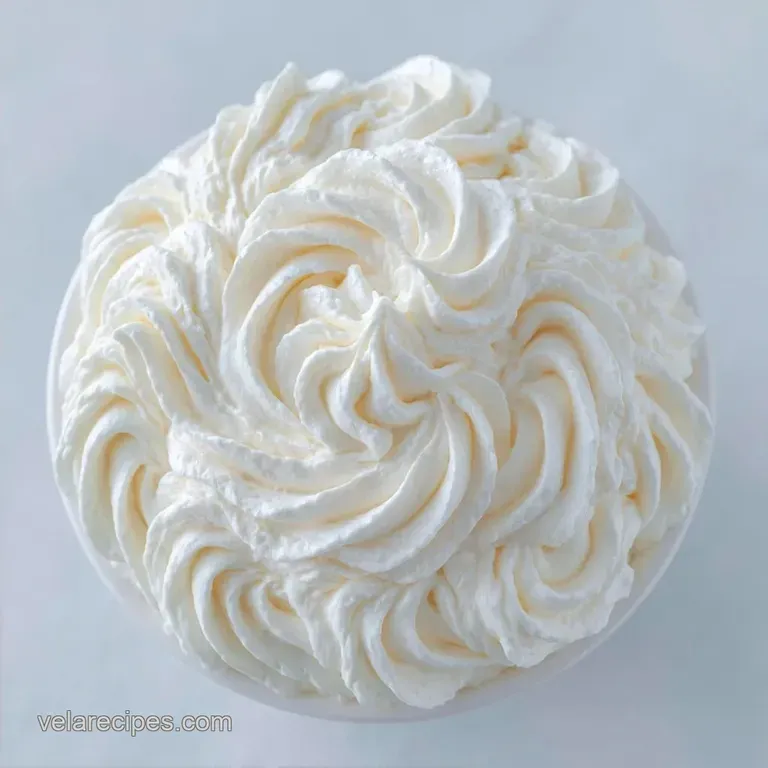
- Time: 5 min active + 15 min chilling
- Flavor/Texture Hook: Light, billowy, and sweet
- Perfect for: Last minute guests or a fear free baking win
I once attempted to impress guests at a dinner party, but I over whipped the cream by just a few seconds. I ended up with a bowl of grainy butter and a bewildered guest. It was a total disaster, and I wasted ten minutes trying to stir the butter back into a liquid, which was a completely futile effort.
That failure proved that temperature is critical. If your bowl is warm or your cream has been sitting out, you're fighting a losing battle. Now, I ensure my equipment is thoroughly chilled before I even begin.
This Quick Whipped Cream Dessert relies on a couple of easy techniques to guarantee that spectacular, airy volume every time. No professional gear is required just a bit of patience with the freezer and a steady hand on the mixer.
Quick Whipped Cream Dessert Basics
Cold Fat: Keeping the cream cold helps the fat globules trap air bubbles more effectively.
Sugar Timing: Adding the powder after the cream foams prevents the sugar from weighing down the air bubbles too early.
According to King Arthur Baking, using heavy cream with a high fat content is what gives the structure its strength. When the fat is chilled, it creates a more stable wall around the air you whisk in.
What Each Ingredient Does
| Component | Purpose | Substitute Notes |
|---|---|---|
| Heavy Cream | Provides the fat for structure | Double cream: Thicker, results in a denser peak |
| Powdered Sugar | Sweetens and stabilizes | Granulated sugar: Can feel gritty if not dissolved |
| Vanilla Extract | Adds aromatic depth | Maple syrup: Changes flavor and adds moisture |
The powdered sugar is actually a helper here. It contains a tiny bit of cornstarch, which helps the cream hold its shape for longer than if you used plain table sugar.
The Right Gear
You can use a hand mixer or a stand mixer, but the bowl choice matters. Stainless steel is the best because it holds the cold from the freezer much longer than plastic or glass.
I recommend a silicone spatula too. It lets you fold the final mixture without popping all those tiny air bubbles you worked so hard to create.
How to Whip it Right
Phase 1: The Chill Prep
Place your mixing bowl and beaters in the freezer for 15 minutes. This ensures the cream stays cold as the motor generates heat.
Phase 2: Aerating the Cream
Pour 1 cup heavy whipping cream into the chilled bowl. Start the mixer on low speed for 30 seconds, then move to medium high until the mixture looks like bubbly foam.
Phase 3: Adding the Stabilizers
Slowly sprinkle in 2 tbsp powdered sugar and add 1 tsp pure vanilla extract. Keep beating on medium high speed.
Phase 4: Achieving Stiff Peaks
Watch the beaters closely. Stop the mixer the moment the cream forms stiff, pointy peaks that don't droop when you lift the whisk.
Phase 5: Final Touch
Use a spatula to gently fold the cream for 10 seconds. This creates a uniform, velvety consistency throughout the bowl.
Chef Note: If you see the cream starting to look slightly grainy, stop immediately. You are seconds away from making butter.
Fixing Texture Issues
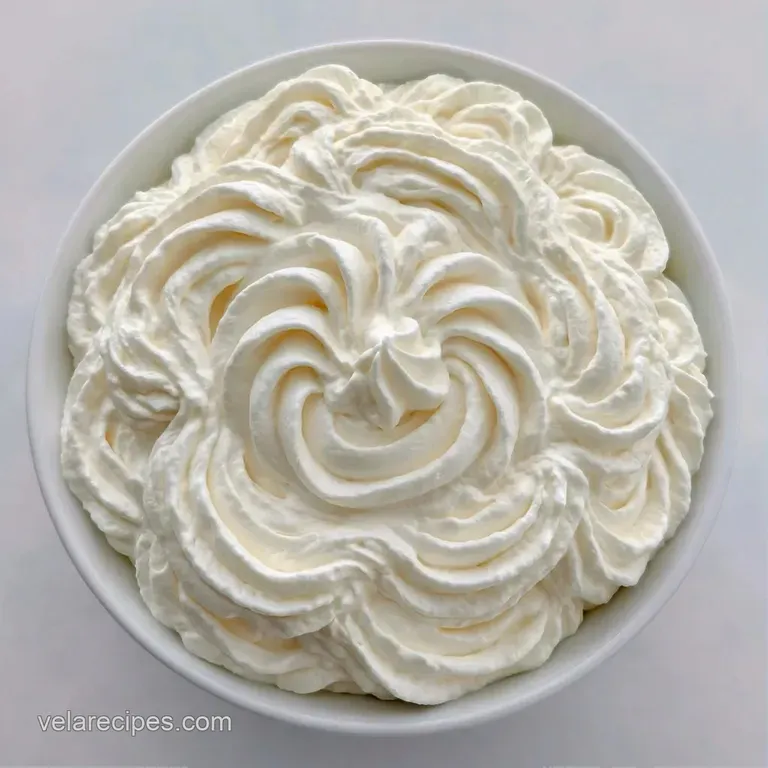
If you over beat the cream, it starts to separate. You'll see small clumps of yellow fat forming in a watery liquid. This happens because the fat globules have smashed together into butter. You can usually save it by folding in a splash of liquid cream.
When the cream stays liquid and won't thicken, it's almost always a temperature issue. If the bowl or the cream warmed up during the process, the fat can't hold the air. Put everything back in the freezer for 10 minutes and try again.
| Problem | Root Cause | Solution |
|---|---|---|
| Grainy texture | Over mixing | Fold in 1 tbsp liquid cream |
| Won't stiffen | Warm equipment | Chill bowl and cream for 15 mins |
| Flat peaks | Under mixing | Beat on medium high for 1 more min |
Tweaking the Flavor
For a chocolate twist, fold in two tablespoons of cocoa powder with the sugar. If you want something fruitier, a teaspoon of lemon zest added at the end makes it feel like a summer treat.
If you're in a massive rush, my 20 minute topping dessert is another great option. You can also infuse the cream by steeping a cinnamon stick in it overnight before chilling.
For a low sugar version, use a monk fruit sweetener. Just make sure it's the powdered version, as the granules in regular sugar alternatives can make the cream feel sandy.
Keeping it Fresh
Store the finished cream in a sealed glass jar in the cooler for up to 48 hours. It might lose a bit of volume over time, so give it a very gentle stir with a spoon before serving.
Don't freeze the whipped cream. The air bubbles will collapse and the fat will separate, leaving you with a watery mess once it thaws.
To avoid waste, use any leftover cream to top a bowl of fresh berries or stir it into your morning coffee. You can also freeze un whipped heavy cream for several months, though it's better for cooking than for whipping after it's been thawed.
Plating and Serving
Adjust the presentation to suit your occasion. For a casual treat, a quick scoop into a bowl is perfect; for a formal dinner, a piped dollop looks more elegant.
This cream also serves as a great base for a whipped cream cake.
| Level | Presentation | Tweak |
|---|---|---|
| Simple | Scoop in a bowl | Add a single raspberry on top |
| Polished | Piped swirl in a glass | Garnish with a mint leaf |
| Restaurant | Neat quenelle on a plate | Add a drizzle of berry coulis |
For a Firmer Set
Chill the completed cream for 30 minutes before plating. This helps the fats stabilize and ensures sharper peaks.
For More Volume
Choose a bowl larger than you think you'll need. The cream expands considerably, and the extra space allows the beaters to aerate the mixture more efficiently.
For a Sweeter Finish
Mix in an additional tablespoon of powdered sugar. Be careful not to over beat, as extra sugar can sometimes lead to a heavier consistency.
Common Myths
Some people think you need a professional stand mixer to get stiff peaks. That isn't true. A simple hand mixer or even a whisk and some elbow grease will work, as long as your tools are cold.
Another myth is that adding sugar at the start helps the cream whip faster. In reality, adding sugar too early can actually slow down the aeration process. Wait for the foam to form first.
Right then, you've got a reliable way to make a Quick Whipped Cream Dessert without the stress. It's all about the cold tools and watching those peaks. Trust me, once you stop guessing and start chilling your bowls, you'll never go back to the store-bought stuff.
Recipe FAQs
What quick desserts use this whipped cream?
Fresh berries or sliced peaches. Fold them in gently or use the cream as a light topping for fruit salads and warm brownies.
How to make this 3-ingredient treat?
Chill your bowl and beaters for 15 minutes. Beat cold heavy cream on low, then medium high, adding powdered sugar and vanilla once it foams until stiff peaks form.
Is it true that room temperature bowls work fine?
That's a myth. Warm equipment causes the fat to melt, preventing the cream from trapping air and leading to a collapsed texture.
Can I use this as a cake topping?
Yes, it works perfectly. The powdered sugar helps stabilize the peaks, making it ideal for layering or piping onto desserts.
Why did my whipped cream turn into butter?
You overbeat the mixture. Beating past the stiff peak stage causes the fat globules to bond too tightly and separate from the liquid.
Which other desserts use this folding technique?
More layered treats. Now that you've mastered the folding technique, try using the same method for our creamy sandwich dessert.
Quick Whipped Cream Dessert